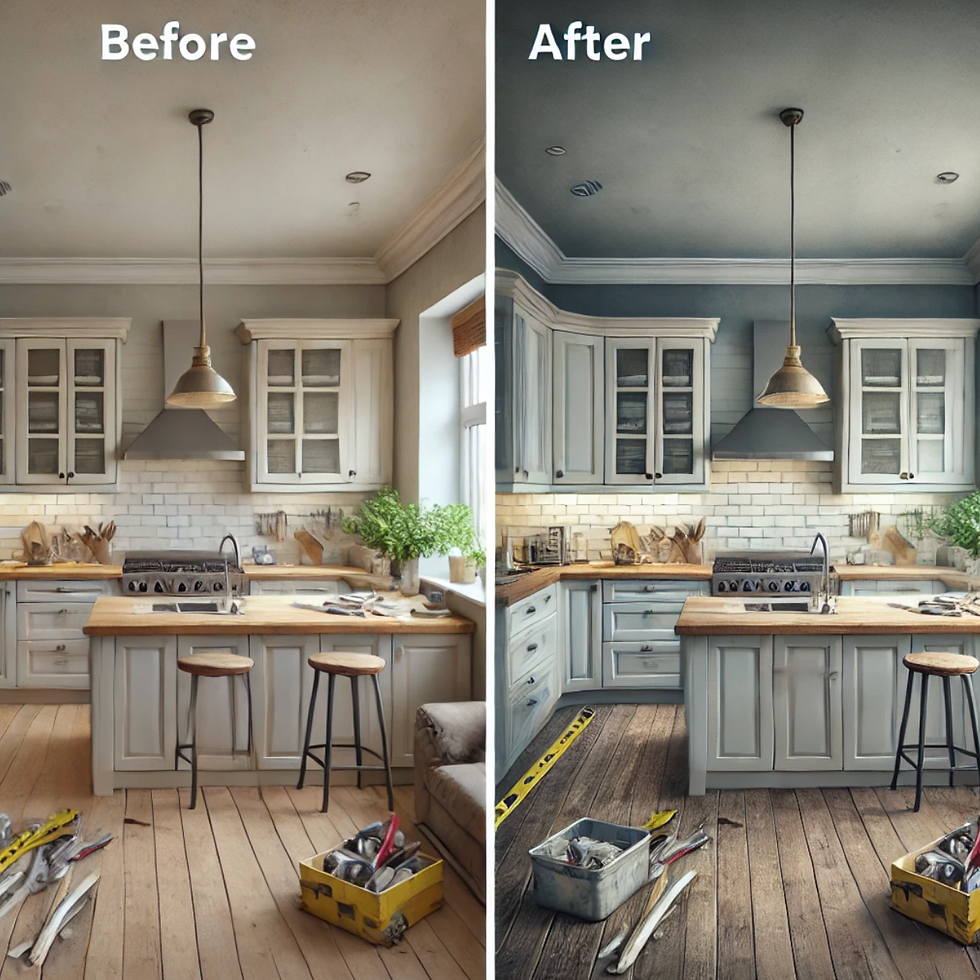
How to Use Before-and-After Photos to Attract Residential Construction Clients
- Chien Industries
- Dec 23, 2024
- 3 min read
Updated: Jan 3
Before-and-after photos are one of the most powerful tools you can use to showcase your skills and attract new clients. They don’t just highlight what you’re capable of—they tell a story. Here’s how to capture, edit, and display your transformation projects in ways that resonate with potential residential construction clients.
No Time to Read? Here's the tl;dr: Use your project transformations to attract new clients:
|
Step 1: Capturing High-Quality Photos
The key to great before-and-after photos is capturing the right angles, lighting, and details.

Tips for Taking "Before" Photos:
Shoot in Natural Light: Whenever possible, take photos during the day for the best lighting.
Show the Problem Areas: Focus on what needs improvement, whether it’s outdated cabinetry or an overgrown backyard.
Use Consistent Angles: Choose a single perspective you can replicate for the after shot.
Tips for Taking "After" Photos:
Tidy Up the Space: Remove tools, dust, or debris from the finished project.
Highlight the Transformation: Emphasize the areas you improved or added, like custom cabinets or a new patio.
Add Finishing Touches: Decorate with furniture or plants to make the space look lived-in and complete.
Step 2: Editing Without Overdoing It

Editing can make your photos pop, but too much tweaking can come off as inauthentic. The goal is to enhance clarity while keeping the images true to reality.
How to Edit Effectively:
Adjust Brightness and Contrast: Make the image clearer and more vibrant.
Straighten Lines: Ensure walls and edges look sharp and professional.
Crop Wisely: Remove unnecessary distractions without cutting out important details.
Avoid Over-Editing: Don’t use filters or effects that make the photos look fake.
Recommended Tools:
Free Options: Canva, Snapseed.
Advanced Options: Adobe Lightroom, Photoshop.
Step 3: Showcasing Your Work
Once you have compelling before-and-after photos, it’s time to show them off. Placement matters, so focus on platforms where your potential clients are most likely to see them.
Where to Showcase Your Photos:
Your Website: Create a gallery or portfolio section to feature transformation projects.
Google Business Profile: Add photos to your profile to improve local visibility.
Social Media: Post regularly on Instagram, Facebook, or Pinterest, using captions that tell the story behind the project.
Project Proposals: Include before-and-after photos in quotes or presentations to demonstrate your capabilities.
Bonus Tip:
Consider adding a resource center to your website with blog posts like “How We Transformed This Outdated Kitchen” or “Deck Makeover: From Worn to Wow.” This adds context to the photos and improves your SEO.
Step 4: Use Captions to Tell the Story
A picture may be worth a thousand words, but a great caption can give it even more impact. Explain the problem, the solution, and the results.
Caption Formula:
Describe the Issue: “This kitchen was cramped and outdated.”
Highlight Your Solution: “We opened up the space, added custom cabinets, and modernized the design.”
Showcase the Results: “Now it’s a bright, functional space perfect for entertaining.”
Step 5: Encourage Engagement
Your photos are an opportunity to connect with potential clients. Use them to start conversations and drive inquiries.
How to Engage:
Ask Questions: “What would you change about your backyard?”
Invite Comments: “Which feature do you love most in this transformation?”
Include a CTA: Add, “Ready for your own transformation? Contact us today!” at the end of social media posts or web pages.
Ready to showcase your work and attract new clients? Let’s help you build a stunning portfolio—free or sliding scale options available.

Comments